
Manual Configuration for Avaya OneX Communicator to work with NSU
This guide assumes that you are either one of NSU’s computer networks or VPN’d into NSU and that you have previously has Avaya OneX Communicator installed manually to your PC or via the NSU Appstore.
Configuration After Install
If opening the application for the first time, it will run its setup wizard. If you have already run the setup wizard and need manual configuration via the settings menu in the application, skip to the section titled “Manual Configuration from Setup Menu”.

Run the application via the Start Menu or Desktop Icon:
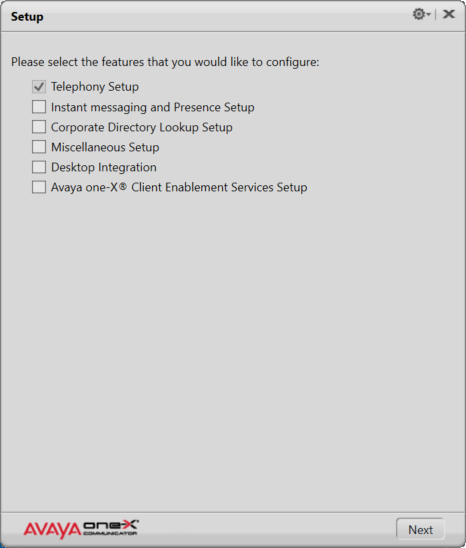
The setup wizard should start:

The setup wizard will ask you which options to configure. Only select Telephony Setup:
Select H.323 when asked:

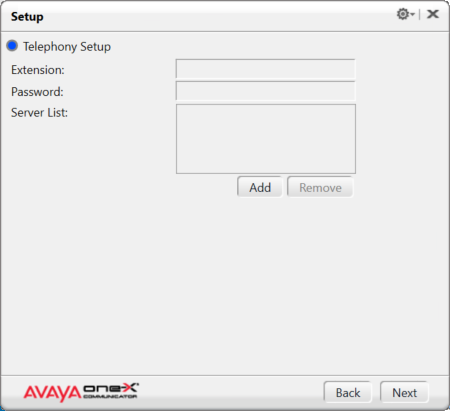
The server list should pre-populate with the correct IP addresses. If it comes up blank, press the Add button:
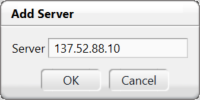
And add server 137.52.88.10:
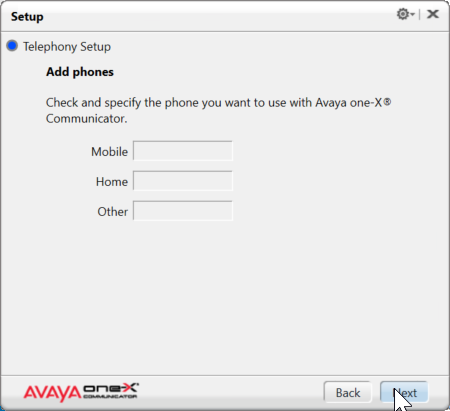
Click Next.
Leave these blank:
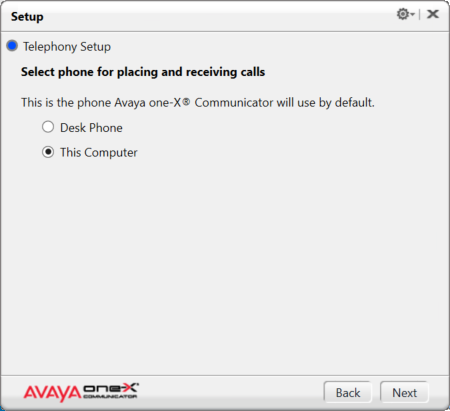
For “Select phone for placing and receiving calls” select “This Computer”:
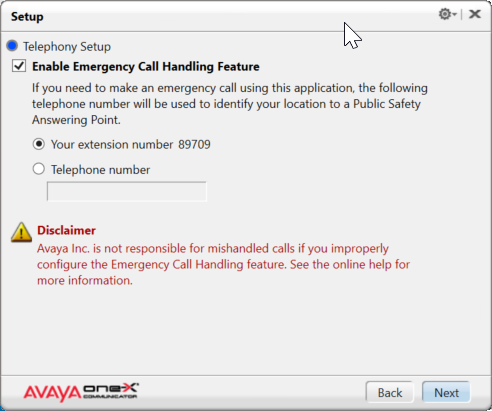
Leave the Emergency Call Handling Features default, regardless of what they look like in comparison to this guide:
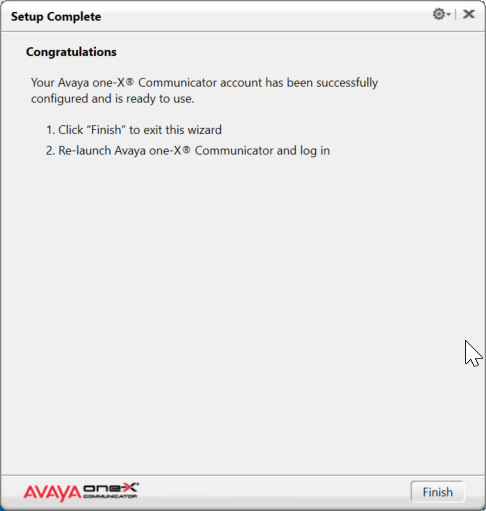
Click finish and the App will shut down to activate the settings:
Manual Configuration from Setup Menu
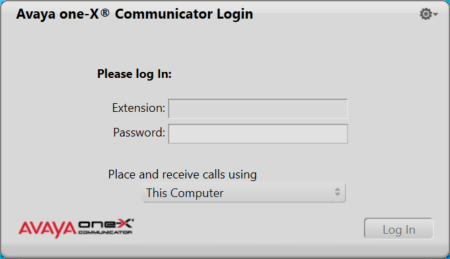
Open the application:

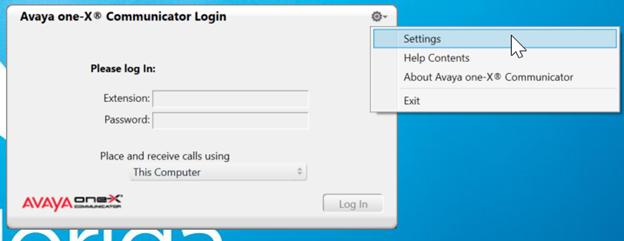
Click the “Menu Gear” in the top righthand corner of the application and choose settings:
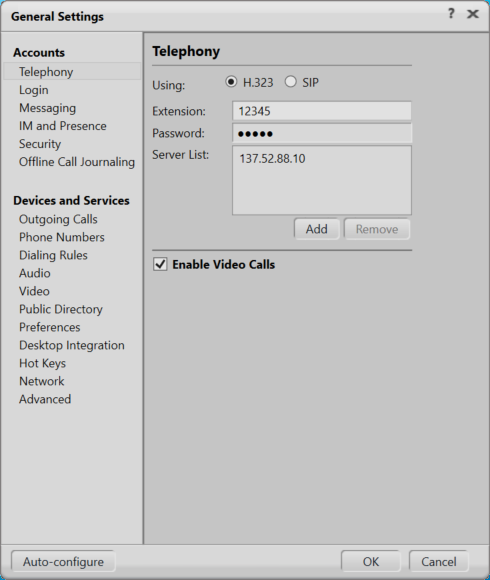
In settings, under Accounts -> Telephony, this is how it should be configured:
Extension is the extension that you have been assigned.
Password is the same as the extension.
The Server List should include 137.52.88.10 at a minimum.
Logging in:
If the settings look right on the main window of the app:
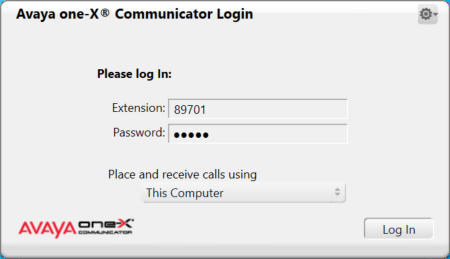
Click Log in.
If no errors and it look like the screen below, you are good to go:

If you get an error about video, click the checkbox “Please uncheck if you want to dismiss this warning…”
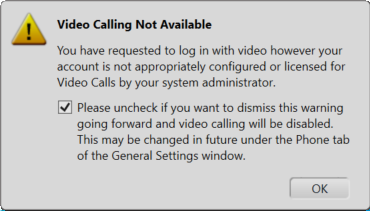
And click ok.